Preparing and Sharpening Stihl Chainsaw Chains
Preparing and Sharpening Stihl Chainsaw Chains
Preparing Chainsaw Chain
To prepare for sharpening your chainsaw chain, consider that chipper tooth chains can be resharpened with a round file. Stihl's carbide-tipped chains, known as ‘Duro’, are highly wear-resistant and have extremely hard cutting edges; these require a special diamond grinding wheel for resharpening.
Other chainsaw chains can be resharpened easily with the right tools and technique.
When do I know if my chainsaw chain needs sharpening?
If any of the following conditions occur, it’s time to sharpen your chainsaw!
- The saw chatters and bounces during the cut (check the depth gauge settings).
- The chain does not pull itself into the cut and needs pressure on the powerhead to cut.
- Smoke appears in the cut, despite proper chain lubrication and correct tension.
- When bucking, fine sawdust is produced instead of coarse, thick chips.
- The cut wanders in one direction, indicating dull cutters on one side or uneven cutter lengths.
Preparing the chainsaw
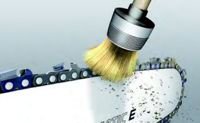
Start by cleaning the chainsaw chain thoroughly. Examine the chain for damage; replace any worn or damaged parts immediately.
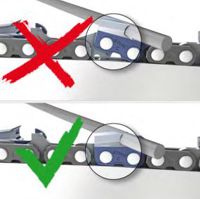
If wear marks are reached, replace and install a new chain. If unsure how to replace any chain or spare parts, contact your local Stihl dealer.
The chain must be tensioned tighter than normal during resharpening to prevent the cutters from tipping, making it easier to maintain the correct angles. After resharpening, restore the chain tension to normal.
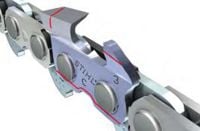
Identify the shortest cutter and mark it as the master cutter. All other cutters must match this length. Sharpen the master cutter first, then file all other cutters to the same length.
Clamp the guide bar in a vice to align with the master cutter's position.
Master cutter in right hand row
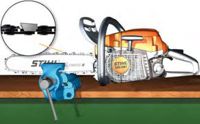
Clamp the guide bar with the nose facing left.
Master cutter in left hand row
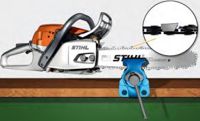
Clamp the guide bar with the nose facing right.
Pull the master cutter into the filing position and lock the chain in place with the chain brake.
Disengage the chain brake to move the saw chain along the bar, then engage the brake again before filing the next cutters.
h3Sharpening Chainsaw ChainSelecting the file
Select the diameter of the round file that matches the chain pitch.
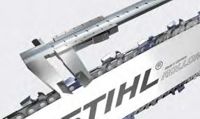
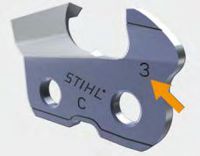
Check the code digit for the chain pitch on the outboard side of the depth gauge. Refer to the table below to find the chain pitch. Each chain pitch corresponds to a specific round file diameter (only use special saw chain sharpening files!).
| Code Digit on Depth Gauge Thread | Alternative Marking on Depth Gauge | Chain Pitch | Round File Diameter |
| 1 | 1/4 |