How to Change an Adjusting Lever on a Stihl TS420 Disc Cutter
In this video, we show you how to change an adjusting lever on a Stihl TS420 disc cutter.
Health & Safety Warning - Please ensure that you have safely prepared the machine and workspace. If you are unsure about any aspect of the task please seek professional advice.
Transcript
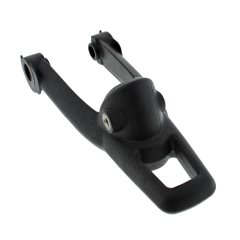
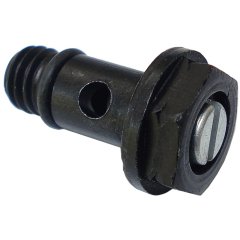
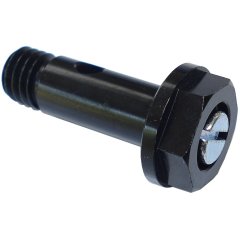
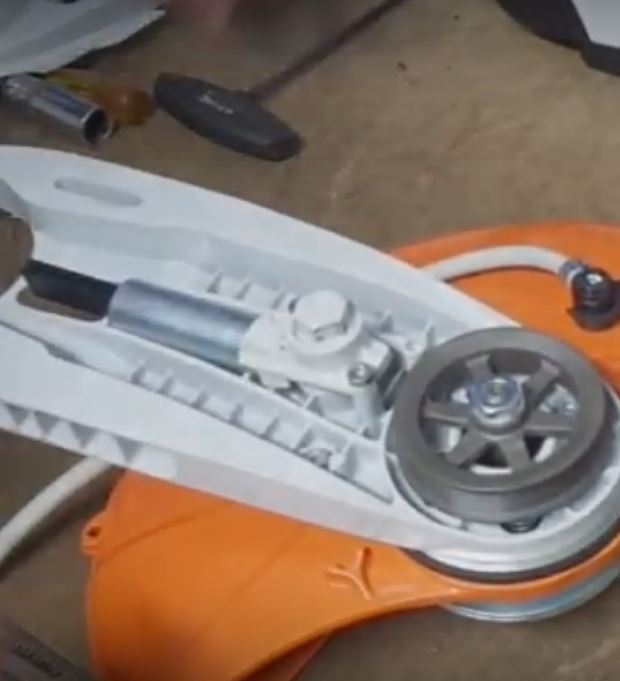
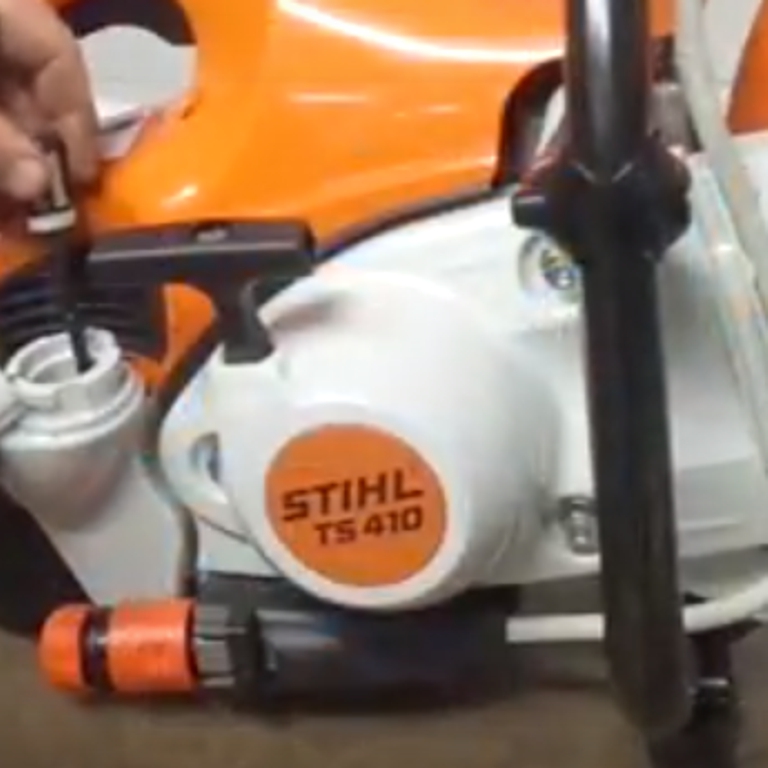
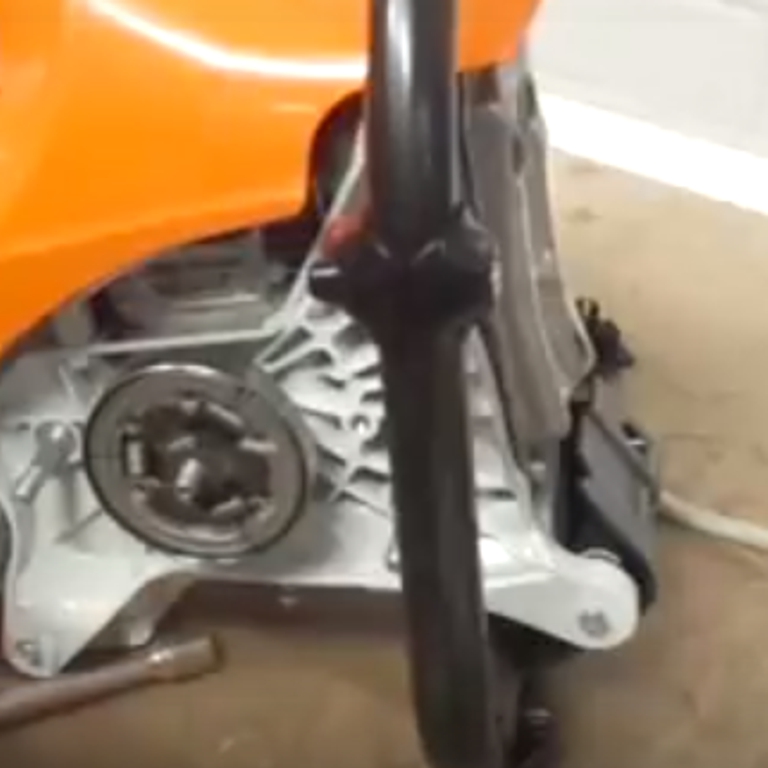
Today, we're going to change the Adjusting Lever on a Stihl TS420 cut off saw. This is an important task as the water runs through here and they can split if not looked after. The blade will have to be removed to complete this task. First of all, use a torx spanner to loosen the screw on top of the Adjusting lever which secures it to the blade guard. Then use the 13mm hex socket spanner to loosen the two banjo bolts on either side of the lever. Once this is done use a flat head screwdriver to remove the jet on the right hand side of the machine, be careful not to lose the square nut which sits on the other side. Check the banjo bolts for wear and that it's still useable. These are important as they carry water to the blade as part of the water suppression system. On the left hand side of the machine use the 13mm hex socket spanner to remove the bolt, freeing the water connector. You can now check the water connector & hose for any splits or damage to it.Check the seals of the two bolts to make sure they haven't become worn or lost their integrity. Again for the left hand side bolt, you can remove the screw which sits inside the bolt to check if it's clear of dirt or obstructions. Then remove the adjusting lever by simply lifting it off the machine. You can see if it's become damaged, checking if splits or cracks have occurred on the moulding. Locate your new adjusting lever on top of the machine and make sure it's secure. Then place the bolt on the right hand side of the machine making sure you can locate the square nut inside the casing. Slide the square nut into the casing and screw the bolt back on securely. Then return to tighten the bolt with the 13mm hex socket spanner. Then relocate the screw which sits inside the bolt. Once that's complete, hand tighten the water connector on the left side of the machine. Then return to tighten the connector with the 13mm hex socket spanner. Using the torx spanner you can then fix your new adjusting lever by screwing the bolt back on. That's how you change the Adjusting Lever on the Stihl TS420 . All the parts & tools needed for this task are listed in the description below.
Parts
Parts and tools included in the TS420 disc cutter how-to video.
- Genuine Guard Adjustment Lever - 4238 700 2900
- Non-Genuine Guard Adjustment Lever - 410 639
- Non-Genuine Water Kit - 410 002
- Banjo Bolt (Short) - 0000 670 0207
- Banjo Bolt (Long) - 0000 670 0206
- Square Nut - 4224 708 8300
- Water Pipe (Per Meter) - 0000 937 4049
- Water Hose Clip - 9771 021 0921
- Genuine Torx Wrench/Plug Spanner - 4224 890 3400
- Non Genuine Torx Wrench/Plug Spanner - 410 250