How to Change a Recoil Assembly on a Honda GX160 Engine
In this video, we show you how to change the Recoil Assembly on a Honda GX160 Engine.
Health & Safety Warning - Please ensure that you have safely prepared the machine and workspace. If you are unsure about any aspect of the task please seek professional advice.
Transcript
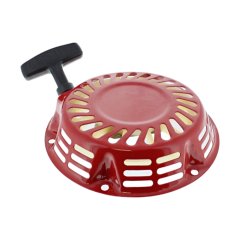
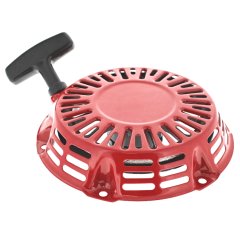
Today, we're going to change the Recoil Assembly on a Honda GX160 Engine. First of all use a 10mm Hex Socket Spanner to remove the three bolts that secure the recoil assembly. You will notice that the recoil has 6 bolt holes whereas the engine shroud has 12. This is so you can rotate the recoil around, to pull the cord in the best direction for your machine or use. Place your new recoil assembly in position and secure using the 10mm hex socket spanner. The engines are fitted with 3 bolts as standard. These are also listed below. You can then return to tighten to make sure the the assembly is securely on. The complete recoil assemblies listed in the description below are supplied ready to use. The recoil shouldn't need to be adjusted. That's how you change the Recoil Assembly on the Honda GX160. All the parts & tools needed for this task are listed in the description below.
Parts
Parts and tools included in the GX160 Engine how-to video.
- Recoil Assy (Plastic Pawl Type) - 710 389
- Recoil Starter Assy - 710 171
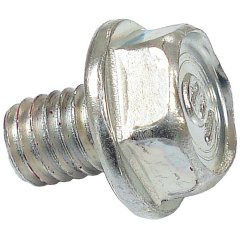
- Recoil Flange Bolt M6x8mm - 95701 06008 00
- Blue Nitrile Disposable Gloves - Various Sizes
- Socket Set - STA086775