How to Change the Clutch on a Husqvarna K760 Disc Cutter
In this video, we show you how to change the Clutch on a Husqvarna K760.
Health & Safety Warning - Please ensure that you have safely prepared the machine and workspace. If you are unsure about any aspect of the task please seek professional advice.
Transcript
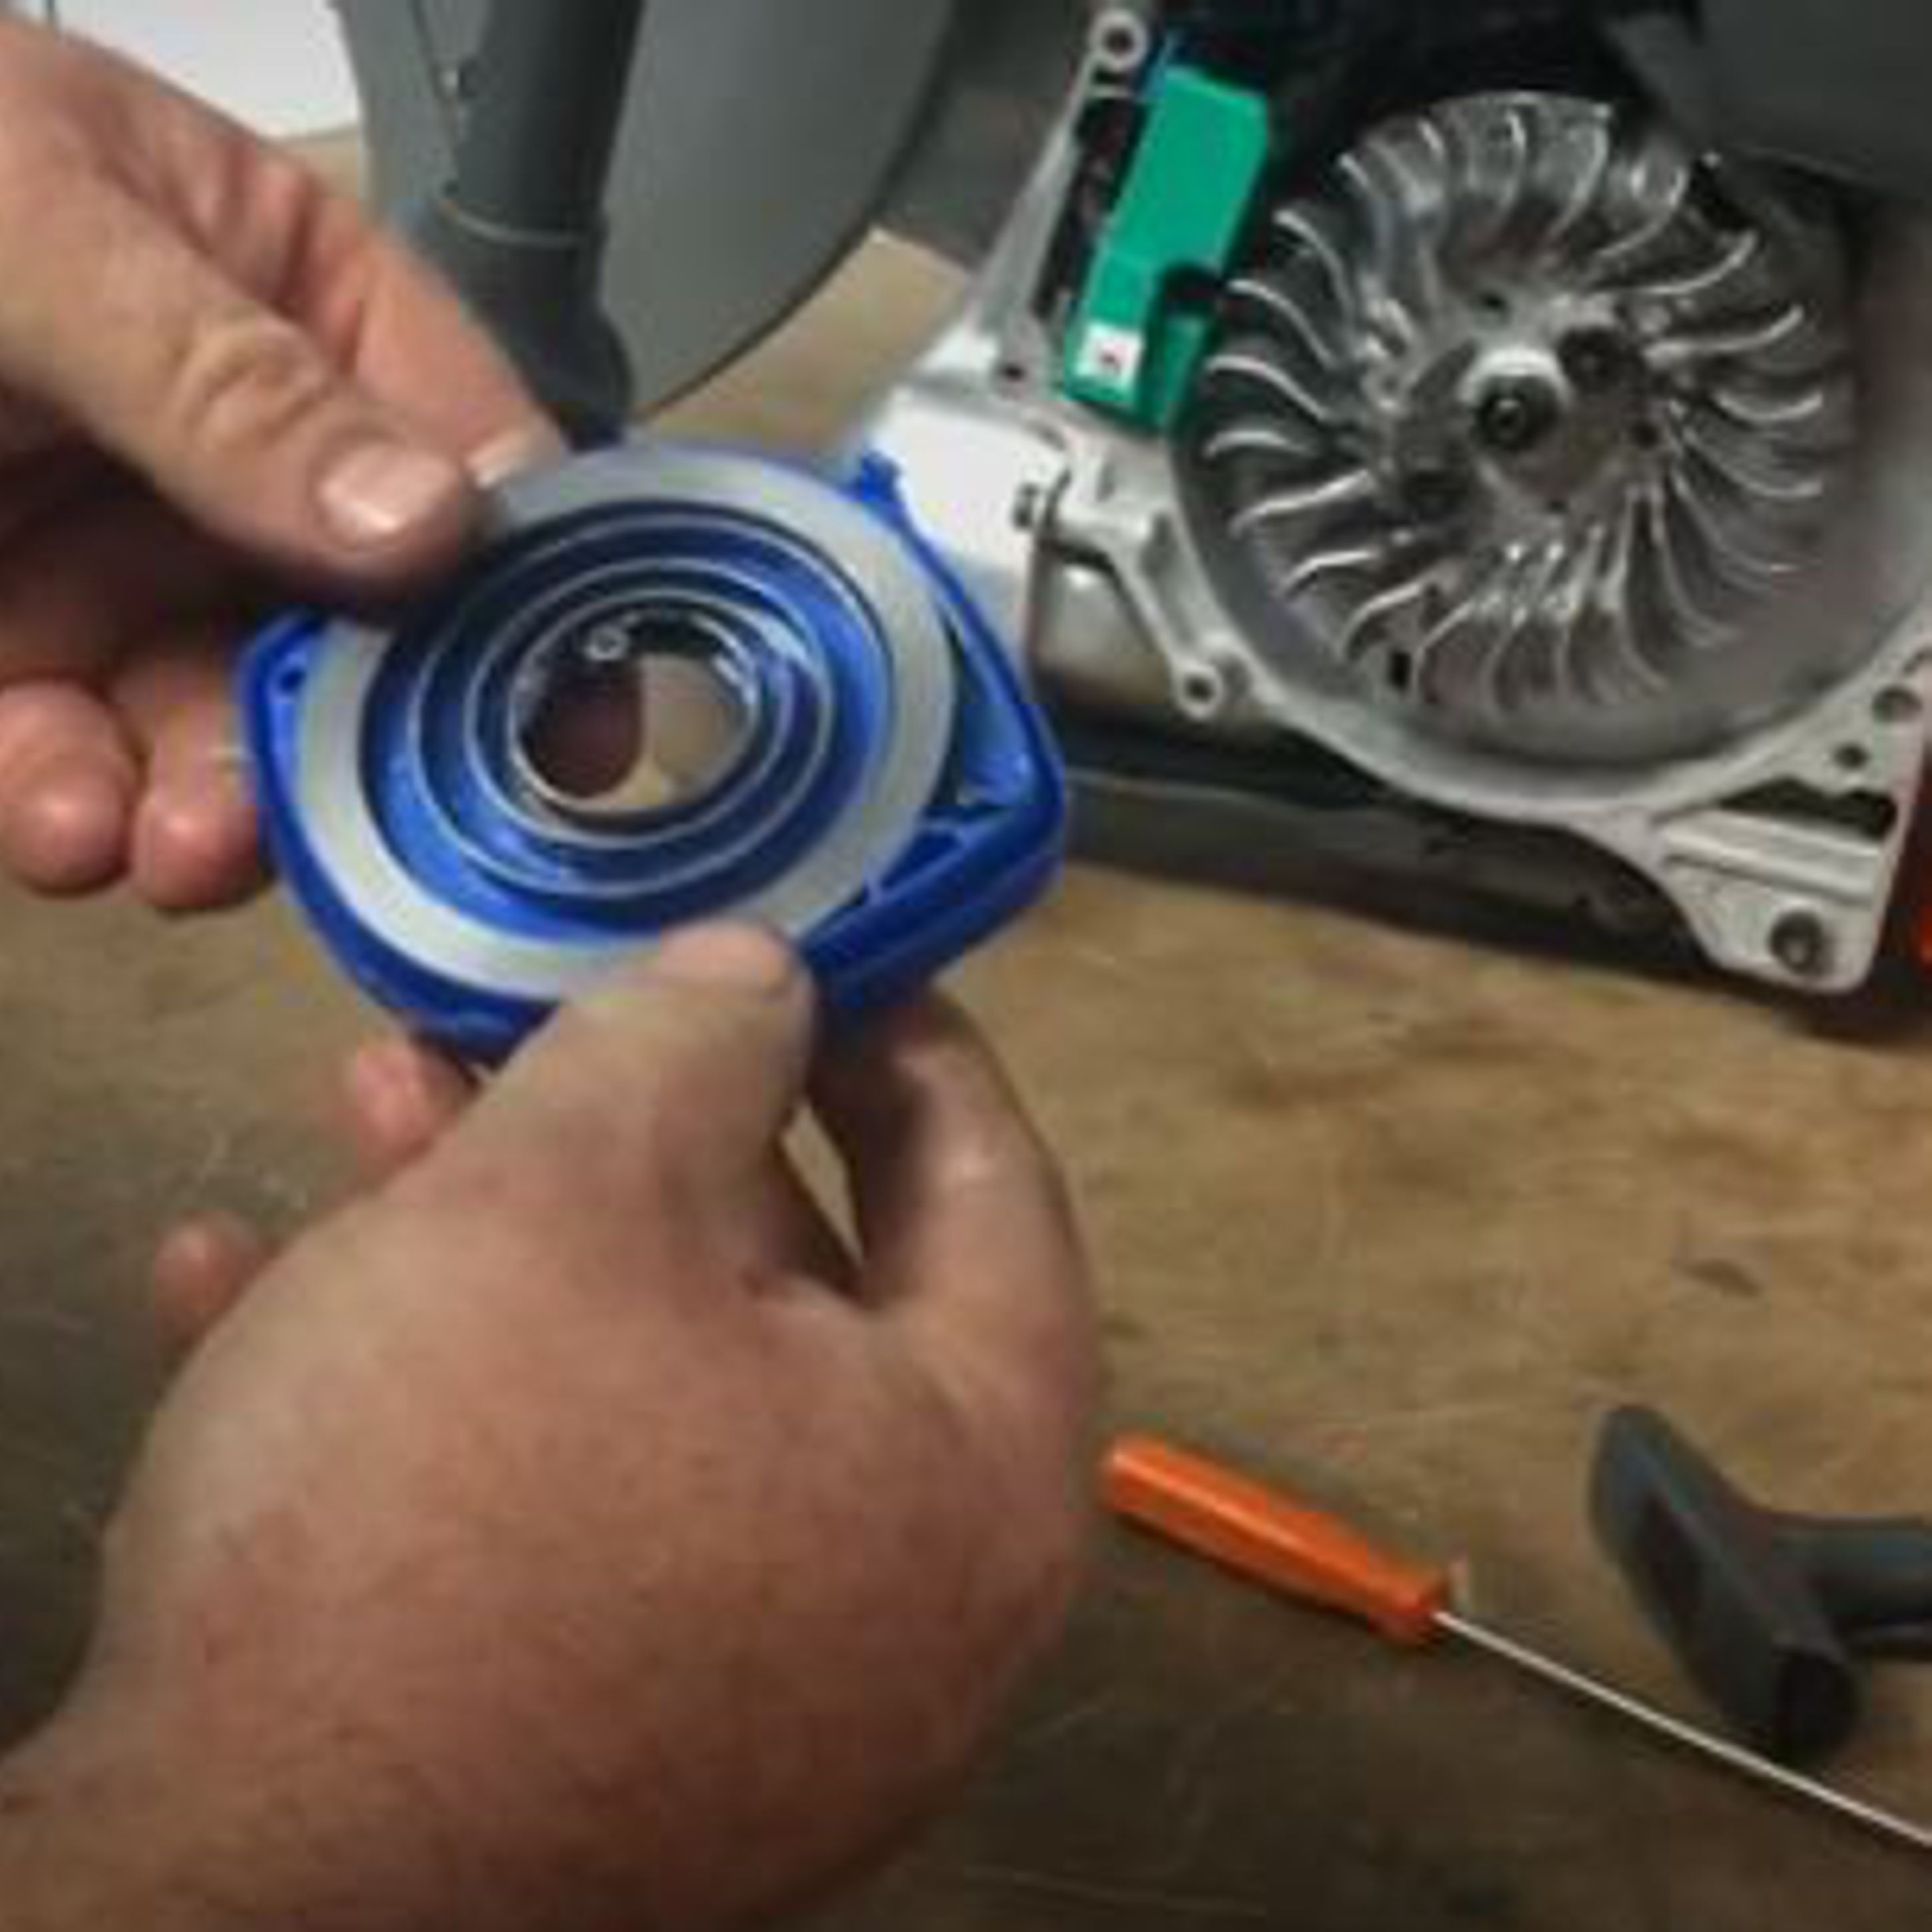
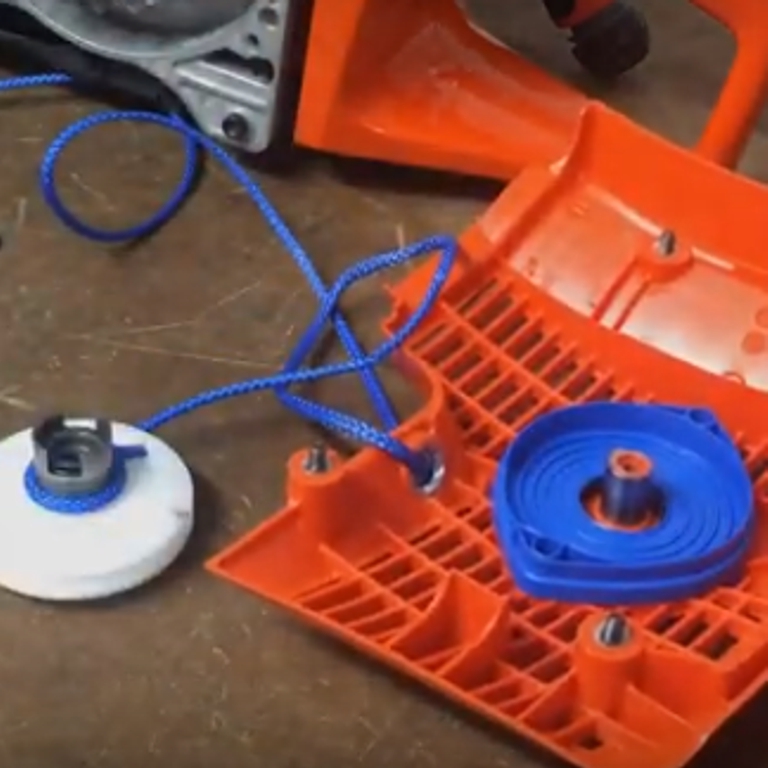
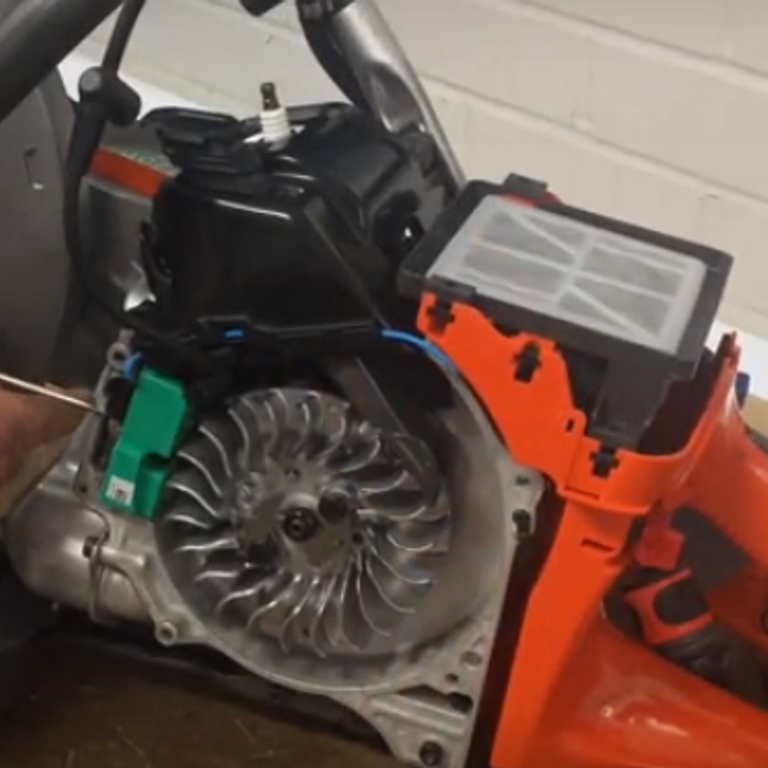
First, use a 13mm hex socket spanner to turn the bolts anti-clockwise to slacken them. To release the belt tension, use a torx spanner to turn the tensioning screw anti-clockwise. You can see the belts tension release through the window. Then remove one of the bolts holding the arm on. Next, squeeze the clip on the hose, this will allow you to slide the hose off from the connector. Whilst supporting the blade guard with one hand, remove the remaining bolt with the hex socket spanner. Slide the belt guard off and free the belt from the pulley. Unscrew the bolt at the bottom and side of the cover using a torx spanner. Then, remove the cover to reveal the clutch and free the belt. Now using a torx spanner remove the three screws to free the plastic casing at the top of the machine, this will reveal the air filter. Continue using the torx spanner to remove the two screws, releasing the air filter. Then remove the gauze underneath. Next loosen the spark plug with a 19mm Hex Socket Spanner. And completely remove it by screwing it off by hand. Screw in a 19mm Piston Stop in place of the spark plug. This will enable you to lock the clutch. Use a 19mm Spanner to loosen the clutch nut. With it being a left hand thread you will have to turn it clockwise. Once the nut is loose you can carefully spin the clutch off with your hand by turning it clockwise. You can then remove the clutch and the clutch drum from the machine along with the spacers. Whilst these parts are removed from the machine it is a good time to check them for wear. Inspect the clutch drum for any wear on the bearing, making sure it's still smooth. If these become damaged it can cause the machine to cease. You can also check the clutch for wear, and make sure the springs are still intact on the component. Replace these if necessary before re-assembling your machine. Place the dust guard spacer onto the piston by simply pushing it on. You can now place the clutch pulley on by pushing it onto the piston. Then test it is moving freely by spinning it. Now push on the other spacer which sits between the bearing and the clutch. To fix the clutch back on to the machine have the raised side of the clutch facing outwards. Then simply spin the clutch on by turning it anti-clockwise. Slightly tighten the clutch using 19mm spanner and turning anti-clockwise. Make sure you don't overtighten as it can cause internal damage to the machine. You can then test the clutch is turning smoothly by rotating it. Unscrew the piston stop from the top of the machine. Place the belt and the side guard into position, ensuring the belt fits into the grooves of the pulley. Place the side guard on over the arm of the machine. Secure the side guard screws using the torx spanner. Place the blade guard back into position and feed the belt around the pulley. Slide the belt cover into place and relocate the two bolts, loosely tightening. Adjust the belt tensioning screw. To get the correct tension, ensure the nut is located between the two guide lines. Then tighten the bolts with a 13mm hex socket spanner. Next place the hoses back on. As a tip place the pipes the other way so that the long pipe is now underneath and the small pipe is on top. Positioning this pipe closer to the arm of the machine will help prevent the hose getting caught during use. Now simply place your spark plug back in by hand tightening it. Use the 19mm hex socket spanner to ensure it's tight. Put the cap back on and push down to secure into place. Then place your gauze filter into position as shown. Place your air filter into the air filter base. Make sure the plastic Husqvarna logo on the filter is orientated as shown. Tighten the screws with a torx spanner and check the seal is in tact. Place the casing back over the filter and tighten. Take care not to tighten too much into the plastic.
Parts
Parts and tools included in the K760 how-to video.
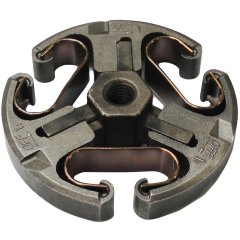
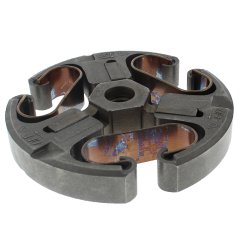
- Clutch Assembly - 503 74 44 04
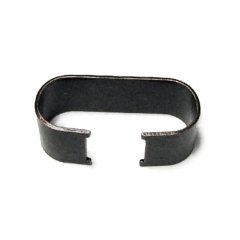
- Clutch Spring - 503 74 43 01
- Washer - 503 23 00 70
- Combination Tool - 506 38 26 01