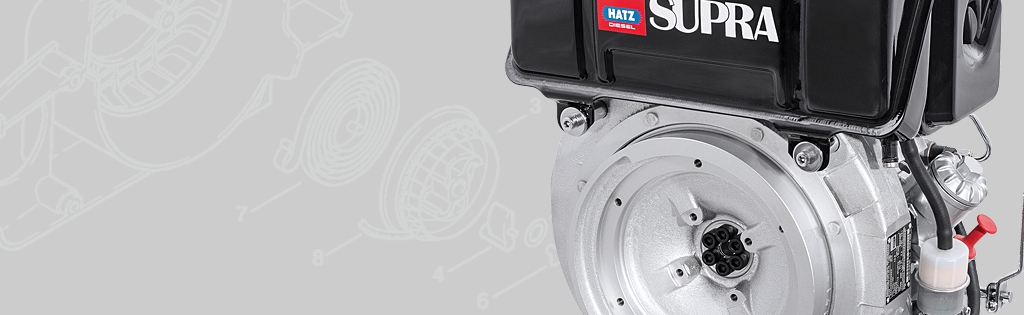
How to Change the Exhaust on a Hatz 1D42S Engine
In this video, we show you how to change the Exhaust on a Hatz 1D42S Engine.
Health & Safety Warning - Please ensure that you have safely prepared the machine and workspace. If you are unsure about any aspect of the task please seek professional advice.
Transcript
Today we're going to change the Exhaust on a Hatz 1D42S Engine. Exhausts are meant to last a long time, however, as they’re made out of metal and heat to very high temperatures, this can later on cause corrosion. Small factors can have a great impact on your exhaust, like checking and changing the gaskets is crucial to make sure you get the most out of your engine. Firstly you need to remove the casing that encloses the exhaust. Using a socket spanner, unscrew the two screws and washers on the top, and then the two screws and washers located on the bottom. You will now be able to release the cover. To remove the exhaust you need an allen key to unscrew the three screws. Then remove the exhaust elbow if your engine has one and the pipe clip When you have done this you can free the exhaust. You may also want to change the gaskets located at the back. Now place the new exhaust back into position, securing the three screws with an allen key. Now secure the pipe clip along with the the exhaust elbow Place the cover back over the exhaust and secure the 4 screws and washers with a socket spanner. That's how you replace the Exhaust on a Hatz 1D42S Engine.
Parts
Parts and tools included in the 1D42S Engine how-to video.
- Pliers - Our Full Range
- Socket Set - BAHSL25
- Exhaust Silencer - 01558602
- Gasket - 3974200


