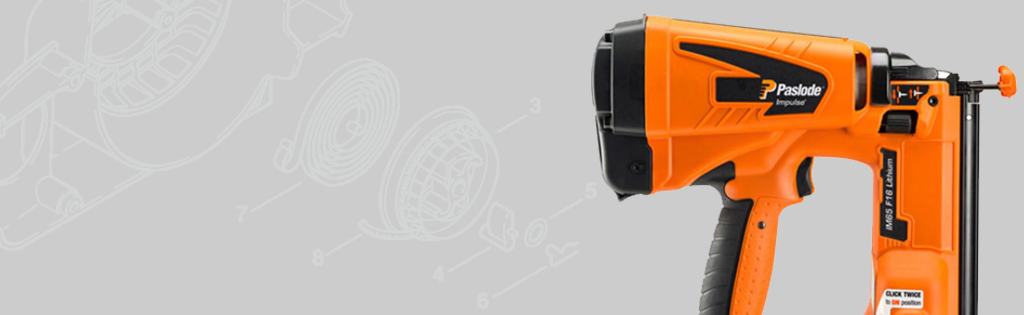
How to Change the Lock out Pin, Bar and Spring on a Paslode IM65 Nail Gun
In this video, we show you how to Replace the Lock out Pin, Bar and Spring on a Paslode IM65 Nail Gun.
Health & Safety Warning - Please ensure that you have safely prepared the machine and workspace. If you are unsure about any aspect of the task please seek professional advice.
'How to' steps
1. Remove the Cap: Unscrew the two screws from either side of the cap, then remove the four shoulder screws using the provided Allen key. After this, the cap can be removed.
2. Disconnect the Wires: Disconnect the spark and fan wires.
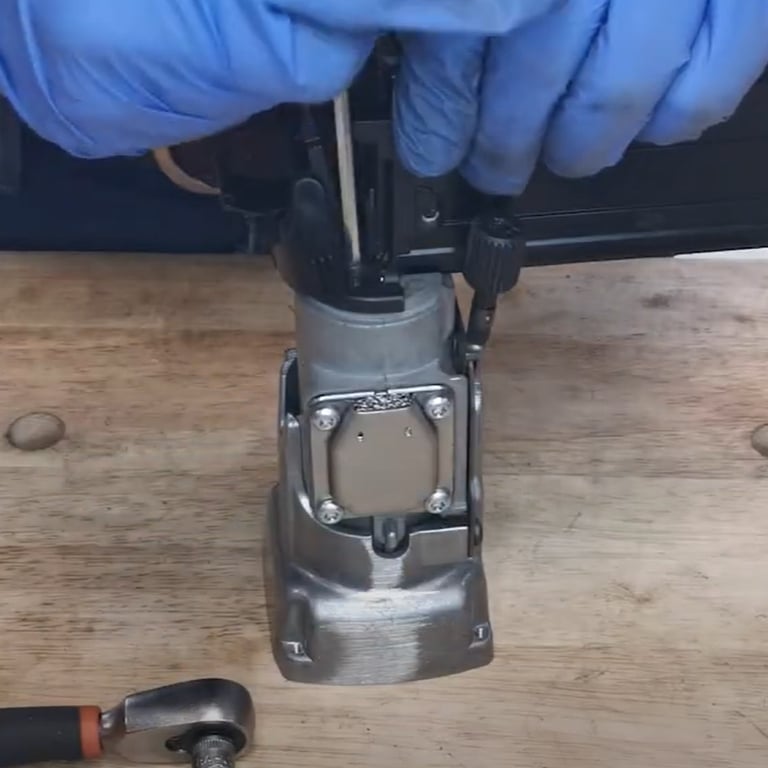
3. Remove the Cylinder Head: The cylinder head can be removed by twisting it off.
4. Remove the Retaining Ring: The retaining ring can be disconnected by removing the screw with the provided Allen key.
5. Dismantle the Body: Remove the two screws, then the four screws holding the body together. After this, remove the front channel. The combustion chamber and magazine can now be lifted out from the body of the nailer.
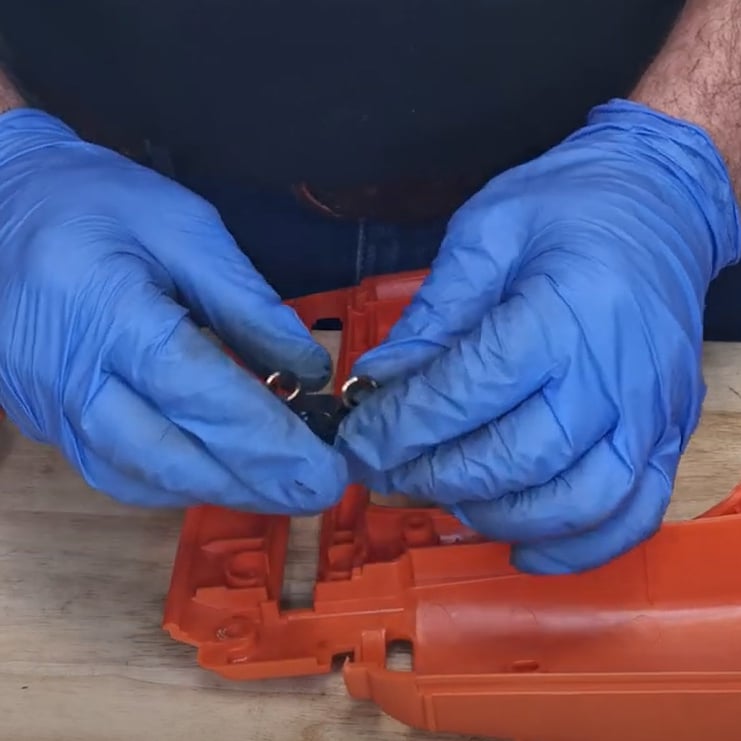
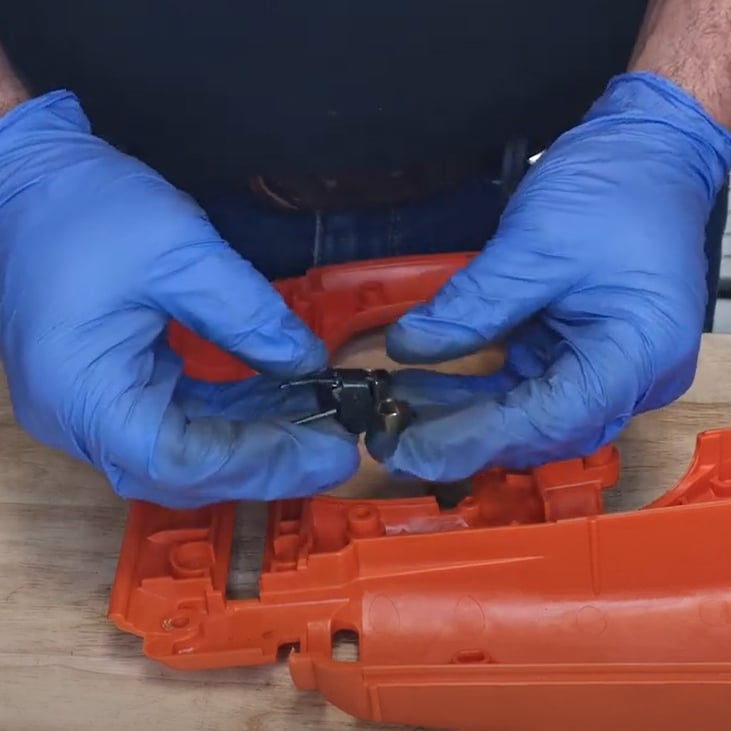
6. Remove the Nose from the Sleeve: Disconnect the two screws using the provided Allen key. If the dowel pin does not fall out easily, remove the front plate assembly by pushing out the dowel pin.
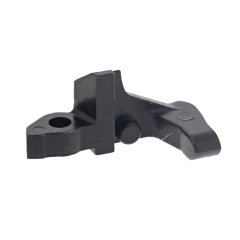
7. Replace the Lockout Pin, Bar, and Spring: Remove the lockout pin, then the lockout bar and spring. Place the spring back into the lockout bar, then reattach it back into the nose. Secure it with the lockout pin.
8. Reassemble the Nailer: Place the nose back onto the sleeve and connect with the dowel pin. Secure it with the two screws. Return the combustion chamber and magazine back into the right handle body.
Clip the left handle body into the magazine and make sure the body of the nailer shuts firmly. Secure the two shoulder screws and then the four screws holding the body together.
Fix the front channel back. Return the retaining ring and fix it in place with the screw. Secure the cylinder head. Connect the wires back into position. Place the cap back until flush. Secure it with the six screws.
Frequently Asked Questions
How can I replace the lockout pin, bar, and spring on a Paslode IM65 nailer?
The process involves several steps including removing the cap, disconnecting the wires, removing the cylinder head, dismantling the body, removing the nose from the sleeve, replacing the lockout pin, bar, and spring, and reassembling the nailer. For a detailed step-by-step guide, it is recommended to watch the video.
What tools do I need to replace the lockout pin, bar, and spring on a Paslode IM65 nailer?
An Allen key is needed to unscrew and secure various parts of the nailer. The lockout pin, bar, and spring are the parts that need to be replaced.
How do I remove the cap of a Paslode IM65 nailer?
The cap can be removed by unscrewing the two screws on either side of the cap and removing the four shoulder screws using the provided Allen key.
How do I disconnect the wires on a Paslode IM65 nailer?
The spark and fan wires can be disconnected by simply pulling them apart.
How do I reassemble the Paslode IM65 nailer after replacing the lockout pin, bar, and spring?
The nailer can be reassembled by returning the combustion chamber and magazine back into the right handle body, clipping the left handle body into the magazine, securing the screws, fixing the front channel back, returning the retaining ring, securing the cylinder head, connecting the wires back into position, placing the cap back until flush, and securing it with the six screws.
What is the function of the lockout pin, bar, and spring in a Paslode IM65 nailer?
The lockout pin, bar, and spring are critical components of the nailer's mechanism. They ensure the proper functioning of the tool and need to be in good condition for the nailer to operate effectively.
Parts
Parts and tools included in the Paslode IM65 Nail Gun how-to video.