Related Products
-
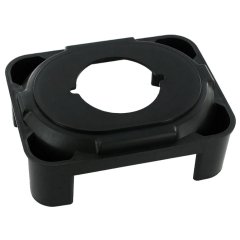
![]() Air Filter Base Plate for Honda GX Range - 17235 ZE1 831£21.73 £18.11
Air Filter Base Plate for Honda GX Range - 17235 ZE1 831£21.73 £18.11

In this video, we show you how to change the Air Filter on a Honda GX120 Engine.
Health & Safety Warning - Please ensure that you have safely prepared the machine and workspace. If you are unsure about any aspect of the task please seek professional advice.
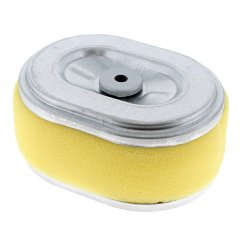
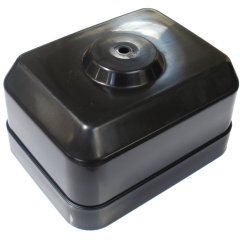
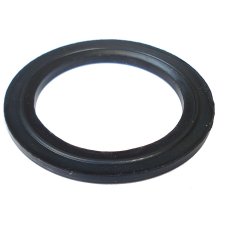
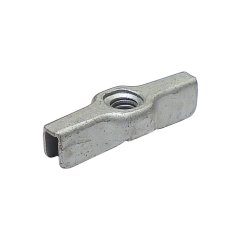
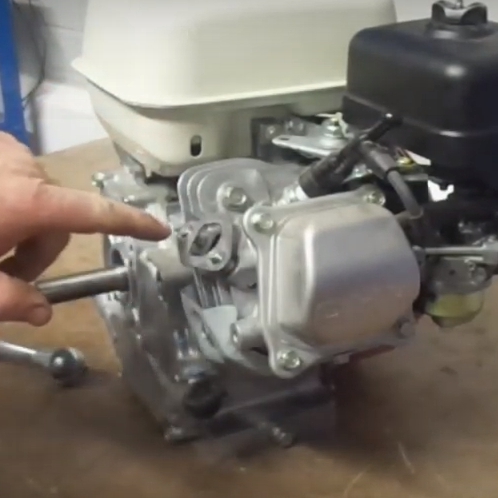
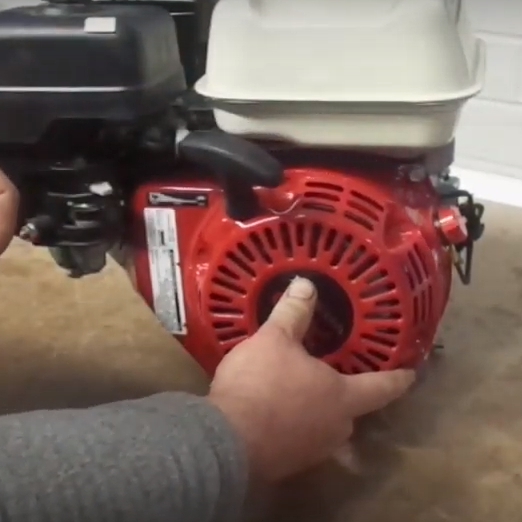
Today, we're going to change the Air Filter on a Honda GX120 Engine. First of all locate and remove the wing nut which is fixed on top of the air filter cover. Then remove the air filter cover from the machine. Now remove the wing nut which secures the air filter in place. You can now remove the air filter. Check the air filter for damage and make sure it's clean. You can also check the seal that sits under the filter for signs of wear. A good seal here is important to make sure that the air is coming through the filter and not from around the base of the filter. If your filter has perished, place your new air filter around the threaded bar. Screw the wing nut back on to secure the air filter in place. Seat the air filter cover back in to place, and tighten the wing nut on to secure. That's how you change the Air Filter on the Honda GX120. All the parts needed for this task are listed in the description below.
Parts and tools included in the GX120 Engine how-to video.