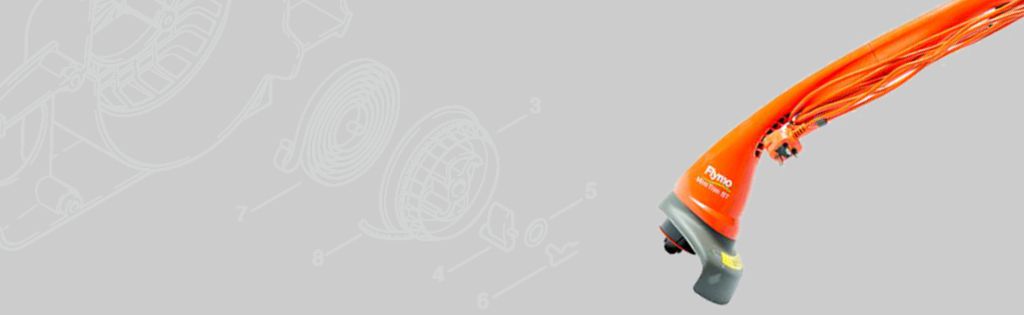
How to Change the Spool and Line on a Flymo Mini Trim ST Trimmer
In this video, we show you how to change the Spool and Line on a Flymo Mini Trim ST Trimmer.
Health & Safety Warning - Please ensure that you have safely prepared the machine and workspace. If you are unsure about any aspect of the task please seek professional advice.
Transcript
Today we're going to change the Spool and Line on a Flymo Mini Trim ST trimmer.
Firstly make sure the trimmer is off and unplugged. Place the trimmer flat, so you can see underneath the guard, where the old spool and line are. Simply pull to release the old part.
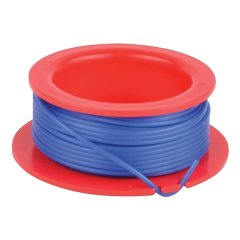
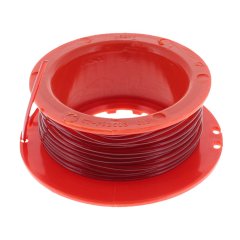
As you can see, the spool and line need replacing. Get the new spool and line, and free about 10cm/100mm of line. Thread this through the hole, from the inside. When thread through, clip the spool into position.
If you have pulled through too much line, you can simply cut it until you have the correct measurement. That's how you change the Spool and Line on a Flymo Mini Trim ST Trimmer.
Changing the Spool and Line on a Flymo Mini Trim ST Trimmer:
Regular maintenance of your Flymo Mini Trim ST Trimmer ensures optimal performance and longevity. One of the essential tasks is changing the spool and line. Here's a step-by-step guide to help you through the process:
Step 1: Ensure the trimmer is switched off and unplugged from any power source. Safety first!
Step 2: Turn the trimmer upside down to access the spool cover. Press the two clips on the sides of the spool cover and remove it.
Step 3: Take out the empty spool from the trimmer head. Note the direction of the line winding for reference when placing the new spool.
Step 4: Insert the new spool with the line wound in the correct direction. Ensure the line feeds through the hole in the trimmer head.
Step 5: Replace the spool cover by aligning the tabs and pressing it down until it clicks into place.
Step 6: Before using the trimmer, pull the line slightly to ensure it's feeding correctly.
With these simple steps, your Flymo Mini Trim ST Trimmer will be ready to tackle your garden tasks efficiently.
FAQs
How often should I change the spool and line on my Flymo Mini Trim ST Trimmer?
The frequency depends on usage. If you notice reduced cutting efficiency or the line frequently breaks, it's time for a change.
Can I use any line for my Flymo Mini Trim ST Trimmer?
It's recommended to use the specific line designed for the Flymo Mini Trim ST to ensure optimal performance and prevent any damage.
What should I do if the new line isn't feeding correctly?
Ensure the line is wound in the correct direction and feeds through the hole in the trimmer head. If the issue persists, check for any obstructions or damage to the spool.
Is it necessary to wear safety gear when changing the spool and line?
Yes, always wear gloves to protect your hands from any sharp edges or debris.
Parts
Parts and tools included in the Flymo Mini Trim ST how-to video.
- Spool and Line - 513 10 60 90